Views: 0 Author: Site Editor Publish Time: 2025-07-15 Origin: Site
Aluminum composite panels (ACPs) have become a preferred building material across commercial, industrial, and residential projects due to their durability, aesthetic appeal, and lightweight construction. Whether you’re working on exterior cladding, interior decoration, signage, or false ceilings, understanding the correct method of ACP installation is crucial for long-term performance and safety.
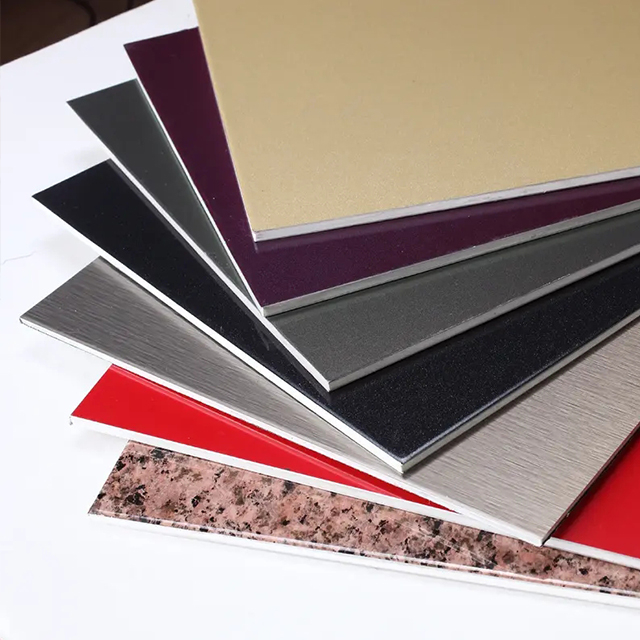
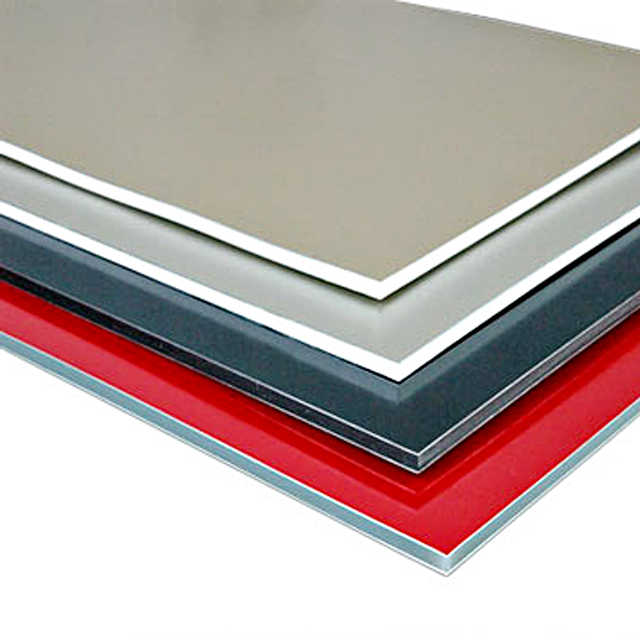
Before jumping into the installation process, it’s essential to understand what an aluminum composite panel is. ACP consists of two thin layers of aluminum enclosing a non-aluminum core, typically made from polyethylene or a fire-retardant mineral core. This sandwich construction gives ACPs their excellent combination of strength, flexibility, and thermal insulation.
Key benefits of ACPs include:
Lightweight and easy to handle
Resistant to weather, corrosion, and UV
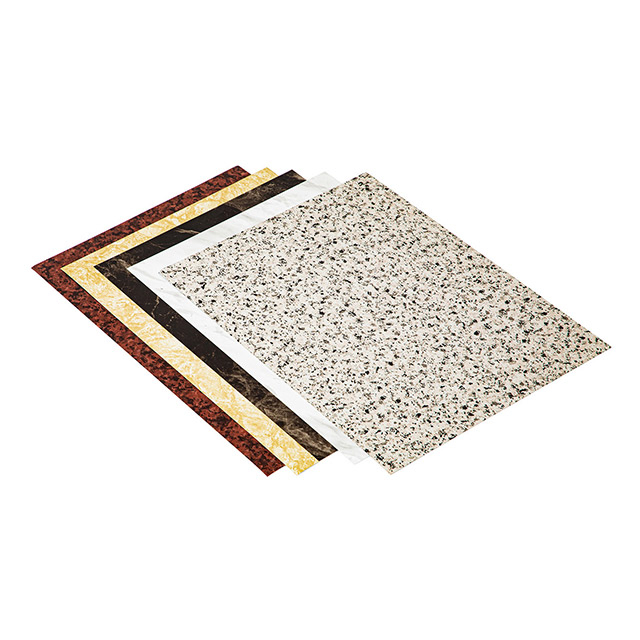
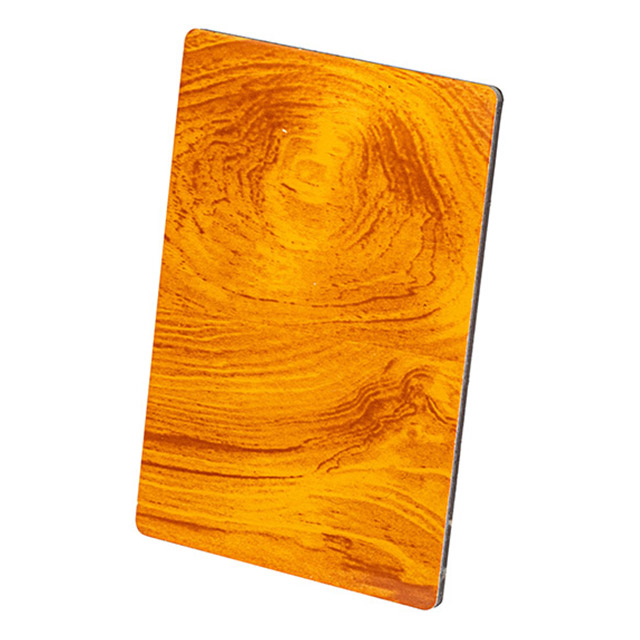
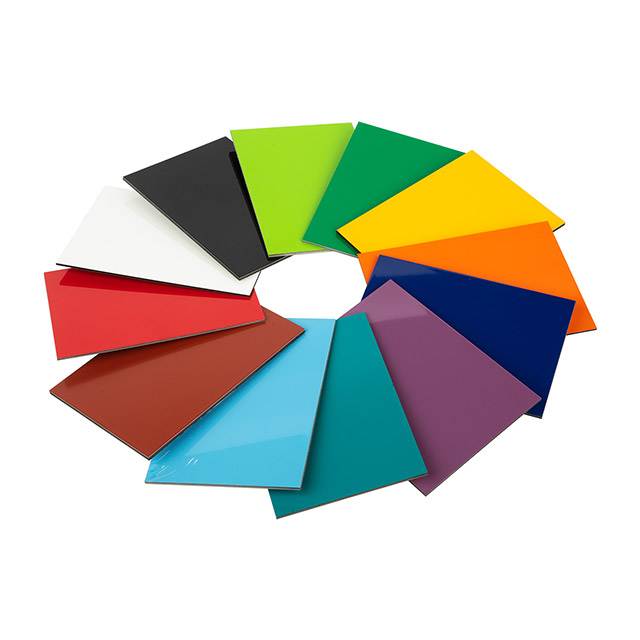
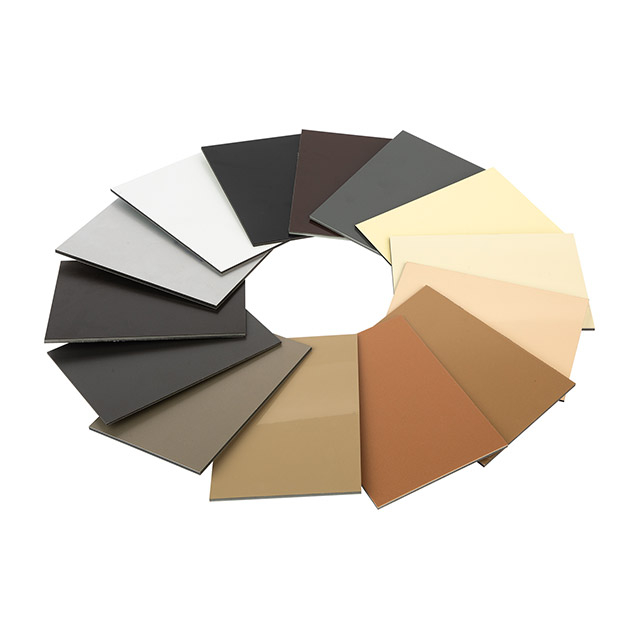
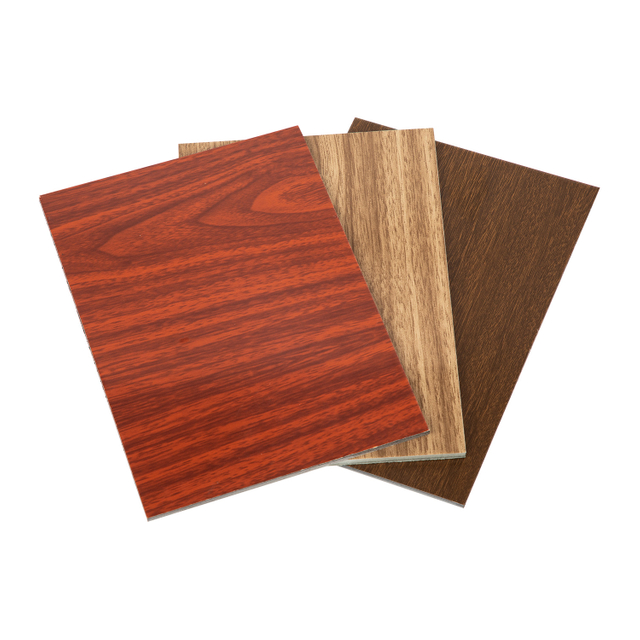
Available in a wide range of colors and finishes
Low maintenance and long-lasting
A successful ACP installation depends on proper planning. Here’s what you should consider beforehand:
Ensure that the installation surface is clean, dry, and structurally sound. Whether you're installing on brick, concrete, or a steel framework, the surface should be flat and able to support the weight of the panels and framing system.
Before installation, inspect each ACP for any scratches, dents, or manufacturing defects. Check color consistency, especially when panels will be installed adjacent to each other.
ACP sheets
Supporting frame (usually aluminum or galvanized steel)
Drills, screws, rivets
Silicone sealant or structural adhesive
Leveling tools
Rivet gun
Clamps
Protective gloves and goggles
There are two primary installation systems commonly used for aluminum composite panels (ACPs), each with distinct advantages depending on the application and building type:
a. Wet Seal System
This traditional installation method involves applying silicone sealants directly into the joints between ACP panels to create a continuous waterproof barrier. The sealant prevents water infiltration, making this approach suitable for low-rise buildings, interior walls, and areas where weather exposure is limited. The wet seal system offers a clean, smooth finish and is relatively straightforward to apply. However, over time, the silicone may degrade due to UV exposure or weathering, requiring periodic maintenance or resealing to preserve water tightness.
b. Dry Seal (Rainscreen) System
The dry seal system is a more modern and increasingly preferred method, especially for exterior cladding on high-rise or commercial buildings. Instead of relying on sealants, this system uses compression gaskets, rubber seals, or pressure-equalized joints to create a ventilated facade. This design allows air circulation and moisture drainage behind the panels, effectively managing condensation and preventing water buildup. The rainscreen approach enhances the durability of the facade by reducing the risk of sealant failure and improving thermal performance through better moisture control. Additionally, it simplifies maintenance since there are no exposed sealants that can crack or peel over time.
Step 1: Create a Supporting Framework
Begin by constructing a sturdy sub-frame on the installation surface using aluminum or galvanized steel sections. This framework not only provides the essential structural support but also maintains the required spacing—usually between 25 to 50 mm—between the aluminum composite panels (ACP) and the wall. It is crucial to ensure the frame is perfectly plumb, level, and securely anchored to avoid any misalignment or future structural issues.
Pro Tip: If the sub-frame will be exposed to moisture or humid conditions, apply anti-rust coatings or use corrosion-resistant materials to extend its lifespan and maintain structural integrity.
Step 2: Measure and Cut the Panels
Accurate measurements are fundamental for a seamless finish. Carefully measure the installation area and mark the ACP sheets before cutting. Use appropriate cutting tools such as a panel saw, CNC router, or jigsaw equipped with blades designed specifically for aluminum to avoid creating burrs or damaging the panel surface.
Important: Always leave a 2 to 5 mm gap between adjacent panels to accommodate thermal expansion and contraction, which prevents buckling or warping over time.
Step 3: Drill and Route Grooves
For installations requiring bent edges or corner folds, create V-shaped grooves on the back side of the ACP sheets. This technique allows the panel to bend cleanly without cracking or damaging the front aluminum layer. Take care to control the depth and precision of these grooves to avoid cutting through the decorative surface. Proper routing ensures neat corners and facilitates installation on complex structures.
Step 4: Fix the Panels
Position the ACP sheets accurately on the supporting frame and secure them using appropriate fasteners such as rivets or screws, depending on the design specifications. For applications demanding a seamless appearance, consider using high-performance structural adhesives as an alternative or supplement to mechanical fastening. In dry seal systems, insert gaskets between panels to ensure proper ventilation and moisture control.
Note: When fastening panels directly to the frame, always use rubber washers or spacers under the heads of screws or rivets. This prevents overtightening damage and helps absorb vibrations, thus preserving the panel’s integrity.
Step 5: Seal the Joints (Wet System)
If employing a wet seal installation method, apply a weatherproof silicone sealant carefully into the joints between panels to guarantee a watertight barrier. Use a finishing tool or finger dipped in soapy water to smooth out the sealant for an even, professional finish. This step is essential to prevent water ingress, which can lead to corrosion or internal damage.
Step 6: Clean and Inspect
Once installation is complete, remove any protective film from the panel surfaces to reveal their final finish. Clean the panels gently using a non-abrasive cloth and mild detergent to remove any dust, fingerprints, or residues from installation. Finally, conduct a thorough inspection to verify panel alignment, fastening security, and seal integrity. Check that all expansion gaps remain clear and that the panels sit flush with one another, ensuring the facade’s aesthetic and functional quality.
When installing ACPs for interior design purposes—such as kitchen backsplashes, feature walls, or ceilings—the process is slightly more flexible.
Adhesive Fixing: You may use double-sided tape or polymer adhesives for smaller panels.
No Ventilation Needed: Unlike exterior cladding, interior installation doesn’t require subframe ventilation.
Decorative Options: Consider high-gloss or textured finishes to enhance the visual appeal.
Skipping the Expansion Gap: Aluminum expands and contracts with temperature changes. Ignoring expansion gaps can lead to panel warping or cracking.
Improper Fastening: Overdriving screws can damage the panel surface or create stress points.
Using Wrong Sealants: Not all sealants are compatible with aluminum. Always use neutral-cure silicone to avoid corrosion.
Poor Alignment: Misaligned panels reduce the aesthetic appeal and may compromise water tightness.
ACPs require minimal maintenance. Here are a few tips to extend their lifespan:
Clean the surface every 6–12 months using mild soap and water.
Avoid abrasive sponges or brushes.
Inspect joints and sealants annually, especially for exterior applications.
Reapply sealant if it starts to deteriorate or crack.
Aluminum composite panels offer exceptional performance, aesthetic versatility, and easy installation—provided that you follow the correct procedures and use high-quality materials. Whether you’re cladding a commercial facade, decorating an interior wall, or creating custom signage, proper installation is the key to achieving lasting beauty and structural integrity.
If you’re planning a project and need expert guidance or premium-grade ACP materials, you can learn more by visiting Zhejiang Geely Decoration Materials Co. — a trusted name in the aluminum composite panel industry. Their wide range of products, professional support, and commitment to quality make them an ideal partner for both small and large-scale applications.